顯示具有 DIY embellishments 標籤的文章。 顯示所有文章

2017年3月19日 星期日

Traveler's Notebook Spread Share / 魔力手作挑戰 #27 吃吃喝喝

Hello there, I hope you are all doing well. The weather has been so changeable these days in Taiwan. So girls, take care of yourselves. Today I will be sharing a traveler's notebook spread. It happens to fit the this month's More Hand Made Challenge. It's a good start for me to take participate in the challenge again.


Created by SummerCraftingFun


Just not long ago I decided to keep my memory in a traveler's notebook this year. I'm not a traditional scrapbooker or documenter, I mean I don't scrapbook 12x12 layouts, pocket pages, or even project life. I enjoy watching people's scrapbook/project life process videos, reading their blog, giving a heart to their new feeds on Instagram...., but somehow I feel overwhelming to spend a chunk of time documenting what happens in my life "daily". I don't feel like I can do this until I saw Sarah Zayas' project. (link here)


Created by SummerCraftingFun


Created by SummerCraftingFun


She did a project called "30 days of Gratitude" (link here). She used almost a photo per page with only a few materials to do this 30 days project. She titled every page with a big bold alphabet stamp set and did a few journaling to which/whom she's thankful for. I love how she keeps it so simple and easy and clean. 

A photo with a few words? I think I can do it. 

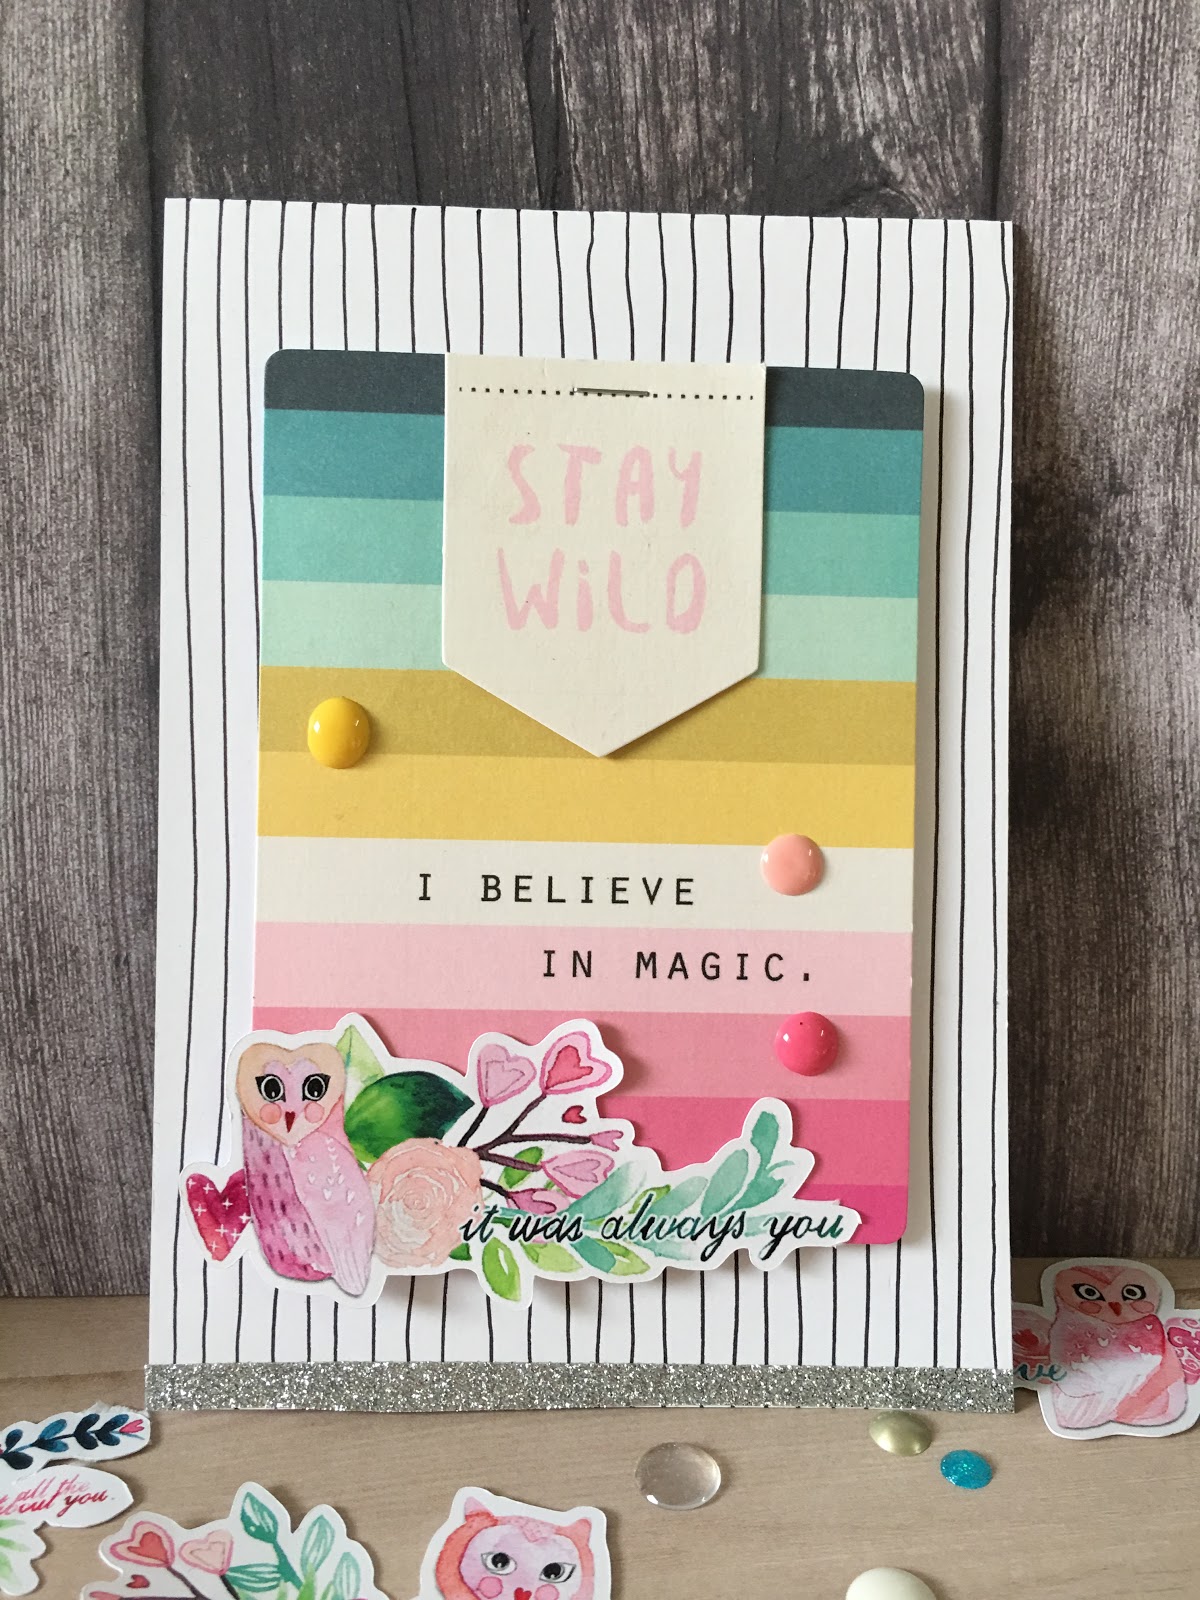
I was so inspired by Sarah's beautiful project that I decided I want to give it a try of documenting something about me. What's not shown on photos is I added a few words before every title. I added "I recommend...., I have...., I went to...., I read...." and so on, to make the title more connected with "me". 

I want to make it small and keep it simple as possible as I can. And I hope I could share this project more in the future.

Thank you for stopping by and have a nice weekend.


LOVE

Jessie


Supplies:
Stamp: Southport Alphabet, Food Comma, Outline Alphabet (all from Kelly Purkey)
Ink: Jet Black Archival Ink (by Ranger), Aqua Mist, Lemon Tart, Vintage Jadeite, Bright Buttercup, Pale Peony and Stormy Sea (all from PTI)
Others: LG Pocket Printer, washi tape (MT), Traveler's Notebook 03#


                            **********************************


Hello, 又到了一月一次的魔力手作挑戰,第27號挑戰的題目是吃吃喝喝。

人生以吃為目的(?),這麼有意義的挑戰怎能不參加呢? 之前說過我有好長一段時間沒甚麼創作的靈感,所以去年的挑戰沒有全程參與,直到今年才陸陸續續有了作品,但也仍多是卡片或多媒材的創作。我一直不曾嘗試過相簿美編或是project life的領域,主要是因為不習慣將生活中的大小事用這種方式記錄下來,尤其是"把自己拍進照片中,並且記述照片中的故事"這件事,我有一種心理障礙(不知道有沒有人懂這種感覺),也覺得每天或每周記錄這些照片太花時間了,所以沒想過將手伸過去試試,直到我在網路上看到某一個作品。我當下有醍醐灌頂的感覺,簡直就像打通了人督二脈,整個人都得到昇華了~~~XD


一張照片佐以簡單的蓋印和簡短幾句話的形式看起來似乎也沒什麼複雜困難啊~~雖然12x12"的美編也是差不多的元素,但是因為是用TN來作為美編的主體,面積小很多啊~~ 因為實在太喜歡這個作品,所以決定要參考Sarah(原創者,鏈接在這)的模式玩玩看,創作一本關於自己的紀錄。


Created by SummerCraftingFun

照片上沒有拍到的部份是我後來在大標題之上加上了我思,我喜歡, 我推薦, 我去過, 我閱讀.....等等字眼,讓整個標題更貼切我做這個作品的目的,一些關於"我"的事情。

我用的TN內頁是03,紙張是淡米白的薄頁,我用Ranger的Archival黑色印台蓋印之後會透到背面去,我不想在背面加美編紙增加整本TN的厚度,所以將下一頁黏起來,這樣翻過去之後就看不到透過來的顏色,若是也想試試這個模式的人可以直接選擇厚一點的內頁。


Photo by SummerCraftingFun

希望今年能持續記錄一些新鮮有趣的事情,到時候再跟大家分享。

.
.
.
.
.
.
.
.
.
.

Behind the scene(真心告白):
說實在的,一張照片幾句話看似很簡單,其實一點也不簡單,搞定這兩頁TN大概花了我半天以上,接下來的幾頁更是花了一天,簡直不符時間效益,看起來很像是浪費時間的事,但是玩得很開心,我想這也是一種放鬆的療癒方式。


2017年2月19日 星期日

Cards Share / Sweet Cards Using Wilna's Design / 作品分享

    Hi there, crafty friends. We have a beautiful February Sunday in Taiwan today, which makes me feel creative. XD. 

  I bought Wilna's mini workshop class from iHeartStudio, which is called Heart Layers. I love these designs so much, well, I LOVE ALL Wilna's designs. They are so adorable and are easy to use on cards as well. Wilna is well-known for her fabulous mixed media techniques and colors. She makes wonderful layouts and projects. Visit Wilna's blog if you don't know her yet. You'll gonna love her.

  For the first card, I used a piece of homemade pattern paper as my card base. It's easy to make your own ones, just grab your sharpie and draw lines. The beauty of the design is imperfection. 
  
Designed by SummerCraftingFun


  Then I layered a couple of ephemera from Maggie Holme's Shine Collection as my vocal point of the card. Embellishing with the adorable owl image from Wilna's cut file(using my silhouette cameo), and some DIY enamel dots.


Designed by SummerCraftingFun


Designed by SummerCraftingFun


Designed by SummerCraftingFun


  For my second card, I made a note card. Embellishing with the cute owl image from iHeartStudio and a gold heart die-cut from Maggie Holme's Shine Collection. It just couldn't be any easier! 


Designed by SummerCraftingFun


Designed by SummerCraftingFun

    Hope you like these two cards. Thanks for stopping by.

   Love,


*****************************************************

    二月的天氣溫暖得像初夏,溫度宜人,陽光充足;唯一不好的就是空汙了吧....

   今天要分享的兩張卡片非常簡單,就連卡片底紙都是用手畫的線條。把畫好的卡紙對折後,再妝點一些可愛的圖案或是金蔥膠帶就可以完成一張漂亮的卡片。

  這次的主題重點是以前介紹過的加拿大設計師,叫做 Wilna Furstenberg,她在2017年陸續推出新的設計和迷你課程,這次卡片採用的設計是叫做 Heart Layers的迷你課程,內容非常豐富,購買之後除了10個作品的教學影片之外,還可以下載她的設計圖案---非常可愛的貓頭鷹小姐。


Designed by SummerCraftingFun

    再搭配Maggie Holme的圖卡(Shine 系列)以及自製的寶珠貼劑(前一篇po文有介紹),簡單的卡片就完成啦。


Designed by SummerCraftingFun


2017年1月10日 星期二

Card Making / Chinese New Year Cards 作品分享/春節賀年卡

    Hello crafty friends, Jessie here to share a couple of cards I made for the elders in a nursing home. They are people who have no family and live alone. A nice girl in a FB group organized this event to send homemade cards to them to comfort and cheer them up during Chinese New Year. I thought this is a wonderful chance to spread out our warm and cozy love to the elder.


Created by SummerCraftingFun

    Since Chinese New Year is around the corner, and these cards are for the elders, I wanted to make them very Chinese style. 

    For my first card, I used two stamp sets designed by a Taiwan's local shop called Sabelina.  They made a few great Chinese Style clear stamps, which I love but are seldom used. I stamped some birds and flowers images on my card panel with MFT black hybrid ink pad, and then I water-colored the images with Kuretake Gansai Tambi watercolor 24 color set. After that I stamped Happy Chinese New Year image with versa mark ink, gold embossed with my heat gun.


Created by SummerCraftingFun


    I used the same stamp sets to create my second card. I stamped the central image with versa mark ink on my red card base directly, gold embossed with my heat tool. And then I continued stamping with versa mark ink.


Created by SummerCraftingFun


Created by SummerCraftingFun

    I also stamped some teeny tiny roses with my PTI Pure Poppy ink pad to make some tone on tone effect.


Created by SummerCraftingFun


    And my last card took me the most time to design. I spent about 3-4 days to create the whole card from start to finish.

    I used my silhouette cameo to design the image and cut it out. And because I'm not so good at using my cameo, the cut-out image was actually not what I wanted at the beginning. I decided to keep going and see what I'll come up with. Here's what I ended up with.


Created by SummerCraftingFun


    It ended up as my favorite one. I backed it with a piece of glitter cardstock, embellished with a few flat back pearls and gold paint marker along the circle. I then glued the cut-out to a 4.25" by 4.25" pattern paper from Basic Grey.


Created by SummerCraftingFun

    I layered a piece of red cardstock inside my card base, embellished with gold stickers at the 4 corner.

Created by SummerCraftingFun

    I hope you enjoy my cards. Thanks for stopping by. Happy New Year and Happy Chinese New Year!

Love


Jessie

*******************************************************************
    今天要跟大家分享幾張賀年卡。彩印在台灣的朋友發起送愛心到老人之家的活動,以150張手作的賀年卡片為目標請大家自由認領數量,然後再寄給老人之家。因為希望能參與這個有意義的活動,加上剛好處於工作遇到一些挫折及創作低潮,也希望能藉此慢慢恢復手作抒壓的目的,不敢貪多,只認領了三張。

    這幾張卡片的設計是基於中國傳統春節,送卡片的對象是老人,所以設計的方向偏向中國風。第一張是利用莎貝麗娜的中國風水晶章,先在中間留下"恭賀新禧"的空間,可以利用2H鉛筆先大致留好位置後蓋印,蓋好圖案之後以水彩上色,這裡要注意蓋用印的印台要用防水的,不然水彩一上圖案就會糊掉。市面上適合水彩用的印台有Staze On油性印台, Archival防水印台, Hybrid防水印台,我用的是MFT家的Hybrid印台。

  用吳竹的24色水彩上色之後,用浮水印台在卡片中間蓋上"新年賀禧"的圖案,撒上金色的燙凸粉加熱燙凸。

Created by SummerCraftingFun

    第二張卡片也是用莎貝莉娜的水晶章。這一次先把中間的"福"蓋好後燙凸,再以浮水印台蓋其他的圖案。這次不燙凸,純粹做浮水印的效果,期間點綴幾朵紅色的小花,免得整張卡片太平淡。在卡紙上以與卡片同顏色(或接近色)的印台蓋印的方式就叫tone on tone.


Created by SummerCraftingFun


    最後以金質貼紙在卡片的角落點綴一下就完成了。

    第三張卡片是我花最多時間做的卡片,從設計到完成大概花了3-4天。一開始就設定要搬出很久沒使用的切割機(silhouette cameo),先goole一下公雞的圖案,找了幾個喜歡的圖來備用。在cameo軟體上設計好大致的圖案後,把圖案用紅色的卡紙切割下來。

    其實因為很久沒用切割機了,在設計的時候沒注意到一些細節,等圖案切出來後才發現切割的效果不是我想要的,但秉持著不浪費的想法,切都切了,繼續接著做看看,不滿意再說。於是最後的成品變成這樣。


Created by SummerCraftingFun


    熟悉cameo的人大概可以發現我一開始的設計是除了圖案的輪廓之外還想要把細節都切出來的,可惜設定錯誤所以切出來的只有輪廓了~~~~囧    本來是想要修改後重切一次的,奈何工程浩大,時間有限,於是只好將錯就錯了。


Created by SummerCraftingFun


    總之感謝彩印在台灣的同好發起這個有意義的活動,就藉這幾張卡片祝賀大家2017年心安平安,順心如意。

新年快樂! / Happy New Year & Card Share

    2017新年快樂!!

    停止PO文了一陣子不是閉關去了,其實是因為平時工作忙碌之外,還因為最近靈感缺失。雖然這段期間仍有斷斷續續的創作,但是處於非常隨性的狀態之下,謬絲女神(男神?)也就離我遠遠的~~  囧

    新的一年呢,期許自己多存點錢,工作上細心有衝勁,貴人運旺旺~~ 。在手作方面希望今年產量大大提高,多方面嘗試沒碰過的媒材,多消耗已有的材料和庫存,還有,少買一點  囧

    希望2017丁酉年順心如意,平安健康。

Created by SummerCraftingFun


Created by SummerCraftingFun


2016年4月4日 星期一

Project Share / Another Flipbook Using Heidi Swapp September Sky Colllection & MHC#16

Hello, crafty friends, I hope you all had a great weekend. I've been addicted to making flipbooks lately, so I made another flipbook to share today featuring Heidi Swapp September Sky collection. I love this collection so much that I have to hoard both 12 inch and 6 inch paper stack, along with coordinating die-cut shapes, sticker, stamp set and color shine sprays. XD

In this project, I used mint, gold, gray and soft pink as my color scheme. I also followed Tmika's tutorial showing how to use 4 envelopes to make a base.


See how beautiful it is when mint and gold and glitter meet together.


On the fist page, I used MFT die to cut several letters from a glitter cardstock, stamped "Darling" from Amy Tangerine's stamp set and decorated the page with washi tape and die-cut shapes from September Sky collection. I made two extra pages between the 1st and 2nd page with a clear cardstock and journaling cards, decorating with some washi and glitter tape. 


The stickers on the right flip page are cut out from a washi tape designed by a Taiwan's company. So cute!


The 3rd and 4th page. They took me almost a whole day to decorate them. I was stuck by these two pattern paper. I love these two paper, but they just didn't go well together. After several tries and failed, finally I had to use a vellum cardstock to separate the busy floral pattern on the right. 


I made an envelope tucking some embellishments and page flags inside.


Honestly, I was exhausted decorating this page, so I kept it simple. XD.


I made a garland using glitter and gold foil washi tape. And them I stamped the cute little bunny with MFT stamp set, colored with color pencils and then used the coordinating die to cut it out.


In order to take this month's MHC challenge, I made a shaker tag using WRMK fuse tool and a page protector. Filling some sequins and decorating with some stickers and die-cuts, DONE!


Hope you like it! Thanks for stopping by.

L.O.V.E


*****************************************************************************

在上一篇的貼文裡有提到flipbooks. 我趁著這幾天連假又做了第二本flipbook. 這一次使用了薄荷綠, 金色, 灰色和淡粉色作為整本flipbook的主色調。剛好魔力手作挑戰這個月的題目是搖搖卡,於是做了一張小卡呼應。


搖搖卡(shaker card / shaker tag)是用WRMK的魔法相片口袋工具組(fuse tool)和透明文件資料袋做的,如果妳/你剛好不知道甚麼是fuse tool, 可以搜尋一下youtube影片,這是一個必備的好工具!(這不是一篇勸敗文,這不是一篇勸敗文,這不是一篇勸敗文)

小卡上面的sweet是用kesi art的刀模切出來的,小鴨子和小熊則是市面上的書局買得到的貼紙。搭配在一起是不是超可愛的!!!! 大心。搖搖卡用迷你小木夾夾著,收到的人可以拿下來再利用。


封面是清爽的薄荷綠搭配金色,這整本小書的美編紙和許多圖卡都是來自Heidi Swapp的九月天空系列(September Sky),我非常喜歡這個系列,不論是紙本還是圖卡,甚至印章和主色調的噴瓶我都有買。Heidi家的噴瓶有細微的珠光,顏色非常漂亮,想購入噴瓶的人可以參考一下她的設計(這不是一篇勸敗文,這不是一篇勸敗文,這不是一篇勸敗文) 。happy是用mama elephant的刀模切出來的。(我已經寫不下去了怎麼辦?!)


這本flipbook其實有點難產,花了不少時間和心思來做,除了花時間自己做小配件之外,主要是因為我選的美編紙放錯順序,導致第3頁和第4頁的花色衝突,在做好了拆掉,拆了又做之後,最後決定加入水晶卡來區隔,幸好最終出來的成品還可以,不然這本得被我丟在一邊等待哪天回收利用了   囧


為了避免有勸敗的嫌疑,我決定放照片就好.......


這真不是為了偷懶......


這就是讓我苦思冥想了一天的第3頁第4頁。沒想到水玉和花卉竟然這麼不合群,完全不聽我指揮,明明應該是絕配啊..... 最後我不得不當拆散人家姻緣的劊子手,拿張水晶卡把兩頁分開,於是我又多了兩頁要裝飾........


這一頁除了搖搖卡之外,我最喜歡的就是小兔子了。印章和刀模是來自My Favorite Things(MFT),為了要展現出水彩的效果,我用油性鉛筆上色。是的,客倌你沒看錯,是油性鉛筆,不是水彩。淺色水印印台蓋印之後先用水筆沾水沿著圖案邊緣抹一圈,淡化圖案的線條,然後挑幾個顏色柔和的油性鉛筆上色。

水桶裝番茄的圖案是貼紙,剛好也是水彩風,所以我把圖案和隔離紙一起剪下來貼到其他卡紙上再一次剪下來,小兔子也只是點上一點膠,這樣貼紙就可以給收到的人用了。


看到這裡妳終於可以鬆一口氣了,感謝妳/你耐心地看完這麼落落長的文(其實要不是為了避免淪為勸敗文,我完全可以再寫個500字.....),有一些省略的步驟我沒寫到,所以如果妳/你從前一篇到這一篇還是不清楚flipbook怎麼做,或者真的很想要我一個步驟一個步驟的介紹的話,請來信問我吧~~~ 


本部落格裏除了另外註明照片或影片來源的資源,其他使用在部落格中的照片或影片均為我自己拍攝及製作的,版權所有,請勿任意使用或拷貝。