2016年5月11日 星期三

Project share / Altered Frame Box 改造相框

    Hello crafty friends, I hope that you all had a great Mother's Day. My mom had a trip to Kenting, which is one of the most popular traveling spots in Taiwan, during the weekend with her siblings. 

    I joined a Facebook group challenge hosted by very talented Meihshia (blog link here) this month. We'll have to create a piece of mixed media, a piece of painting and brush lettering every week. For the first mixed media project, we'll have to make a piece of home decor that uses paints, metals, fabric and paper.


    Here's the project I created. I altered a frame box and turned it into a home decor.


    I started off with painting a coat of white gesso, and then a coat of antique white acrylic paint. After it dried, I used a Tim Holtz's stencil and home-made modeling paste to create some texture on the surface.  After it dried, I painted with blue acrylic paint to add some color and gave it a bit of shabby chic style.


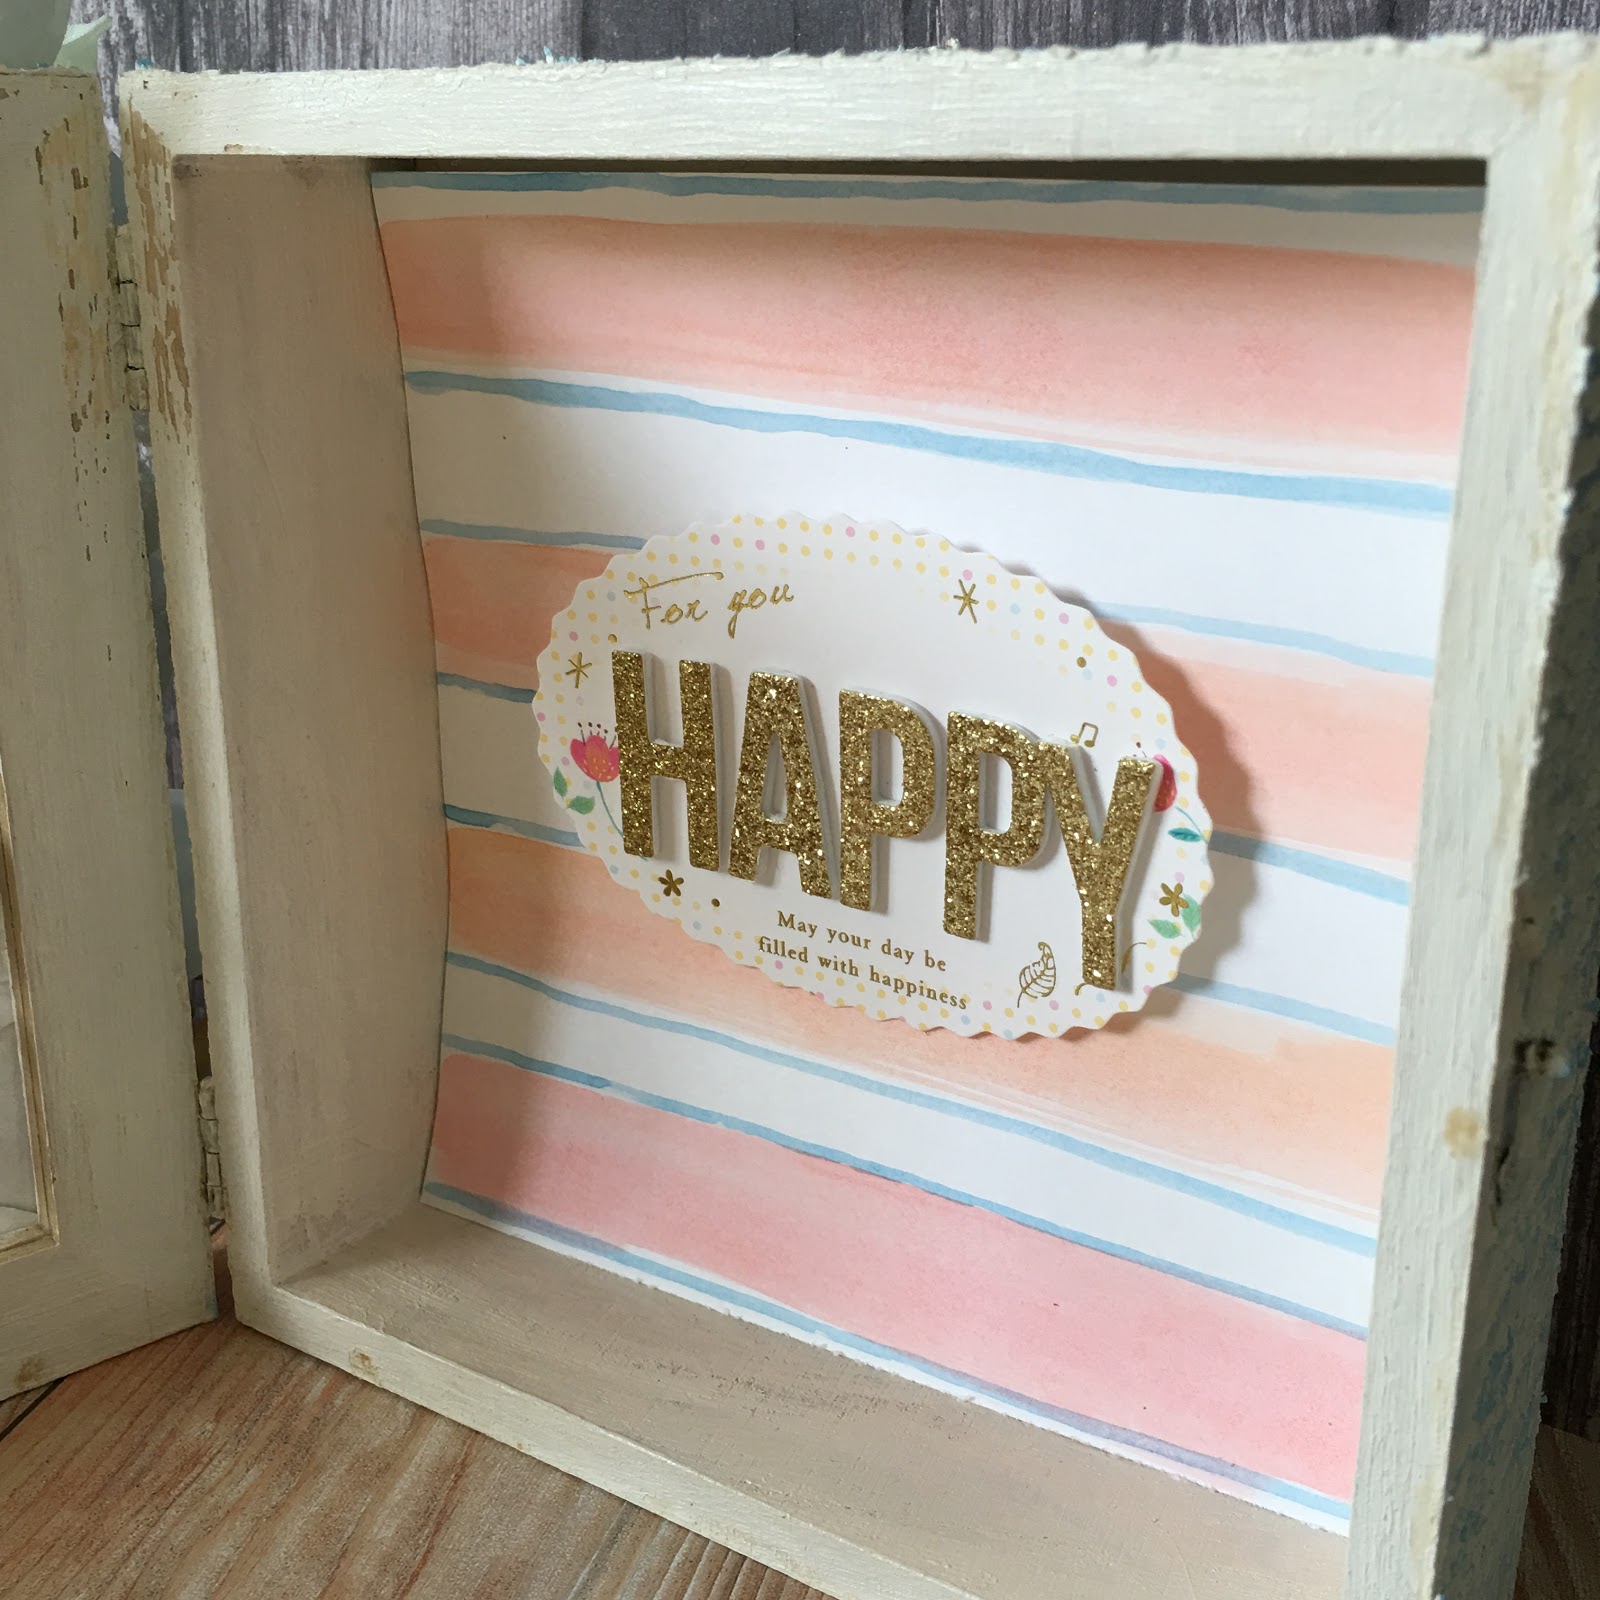
    For inside the box, I cut a piece of watercolor cardstock that just fit inside of the box and drew some stripes with pink and blue watercolor.


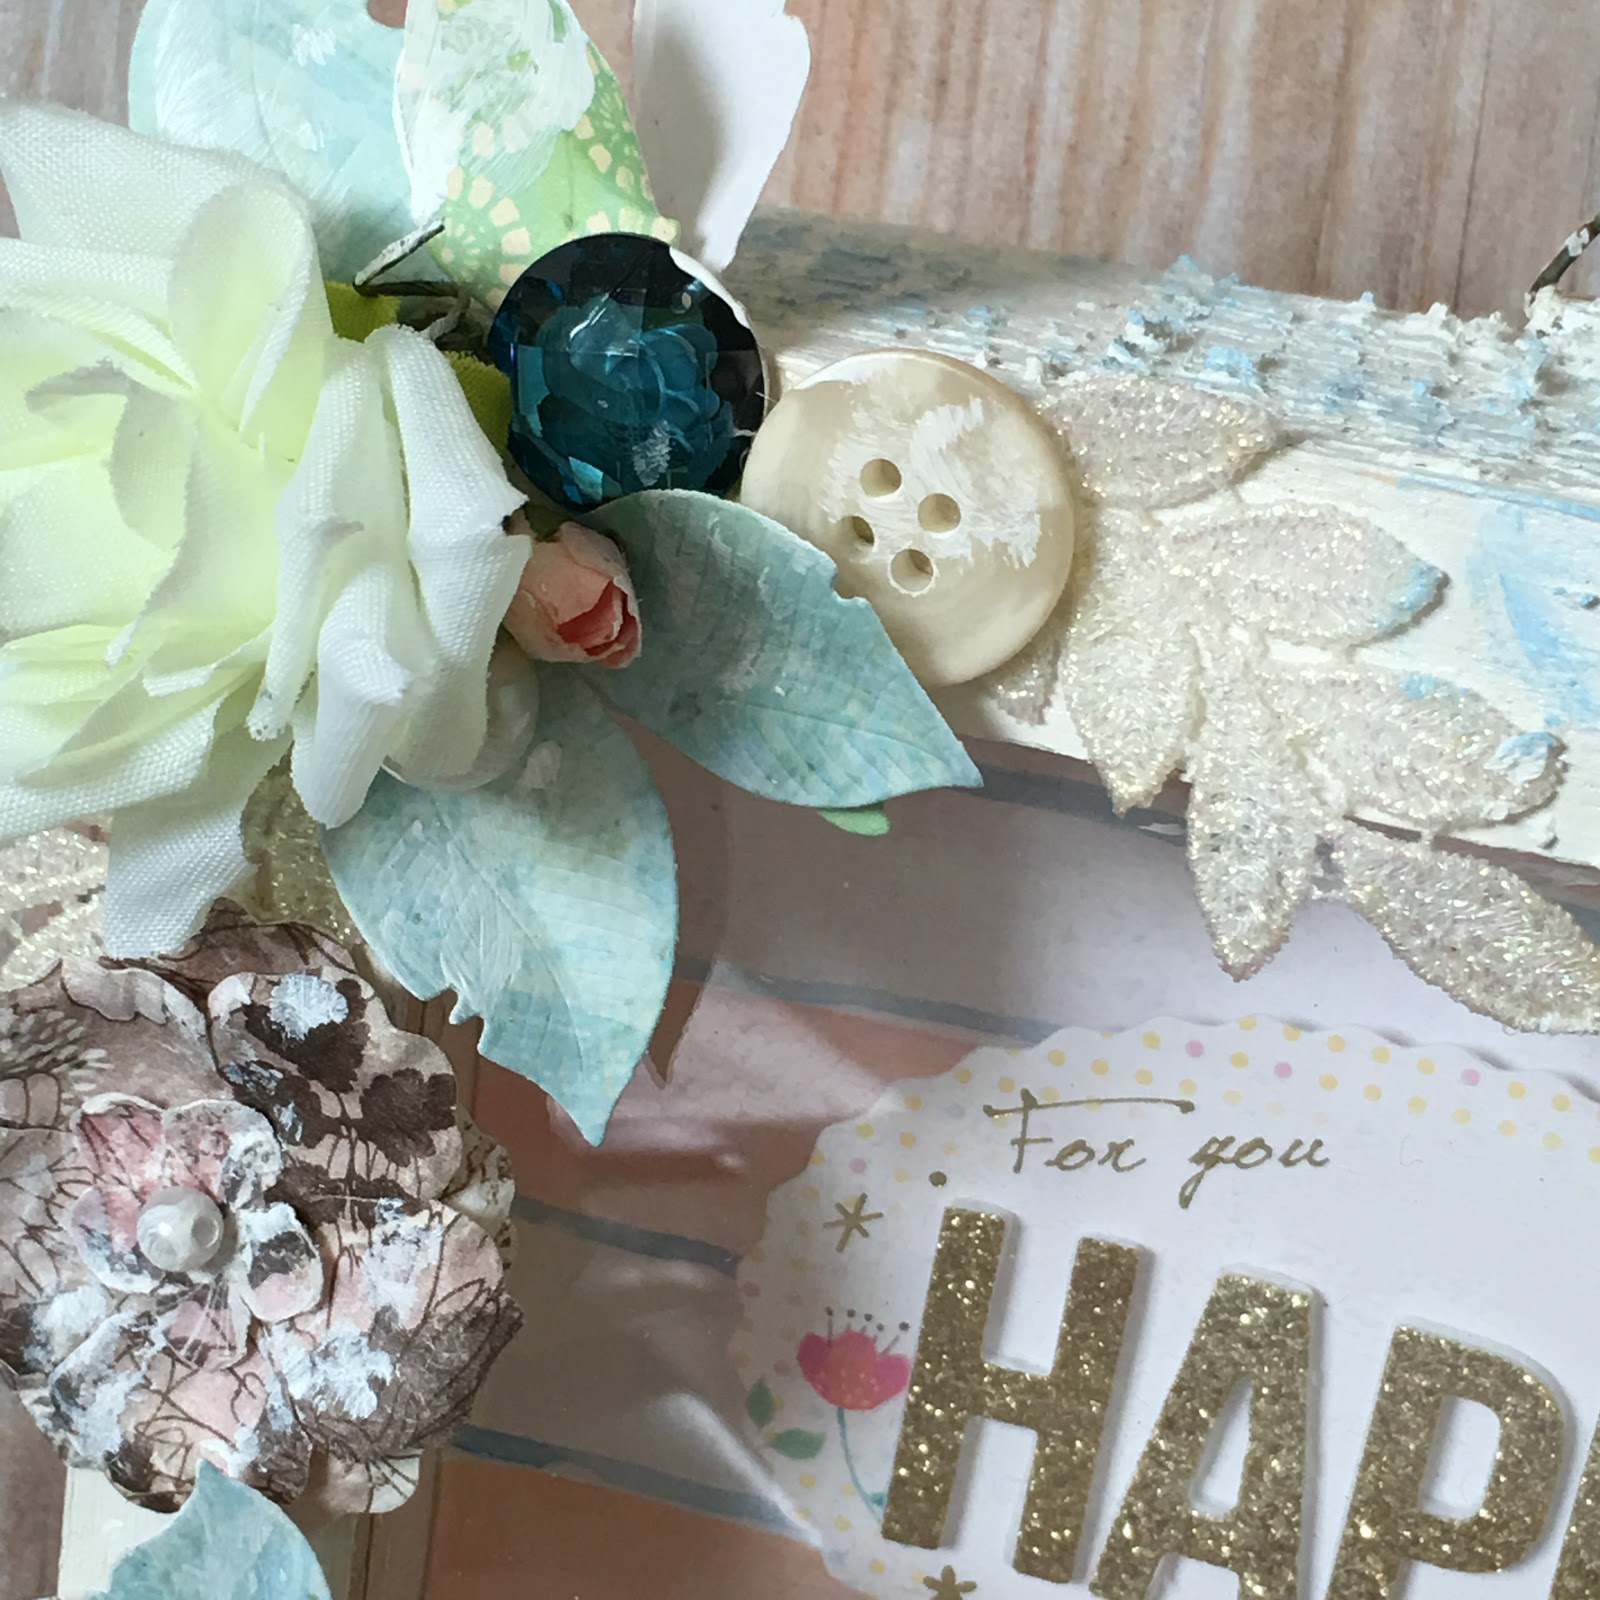
    To decorate the box, I used metal charms, fabric leaf, paper flowers and leaves, gem, button and felt.




Hope you like this project.


LOVE


*****************************************************************
Hello, 上個週末是母親節,不知大家是否有給自己和媽媽一個難忘的節日呢?我媽媽和我幾個舅舅阿姨組成一團跑到墾丁去玩了,我反而落了個清閒。(當然是有提前慶祝囉~)於是利用週末來趕作業。

5月份我參加了由Mui在臉書上舉辦的活動,每週要交一份多媒材作品,一份畫畫作品還有最近很夯的英文花體字的練習作業。5月份每週都要交作品,因此這個月會很多采多姿啦~~

第一週的多媒材作品要利用顏料,金屬,布料,紙張等這些東元素來製作一個擺飾,完成的作品可以放在家裏當裝飾品。我選了一個中間挖空還可以打開的木盒來改造。

首先利用白色打底劑(Gesso)將木盒都刷過一遍,乾了之後再刷一層復古白色的壓克力顏料。等顏料也乾了之後,我用型板+自製的塑型膏來增加一些紋路和層次感。這個刷打底劑,顏料和塑型膏等乾燥的過程可以用熱風槍來加速乾燥;我一般都是讓它自然乾,因為製作的過程當中有時候還沒有靈感和明確的想法,所以乾脆慢慢來~~~~  XD

等木盒準備好後,剩下的就是裝飾啦。因為想把這個作品當作擺飾用,所以盒子內側我就簡單的裝飾一下,裁了一張水彩紙用粉色和藍色的水彩畫幾條條紋,然後拿一張書局買得到的小卡貼上去,再用字母刀模切出"Happy"的字母貼上去,然後整張水彩卡黏在盒子底部。水彩卡我沒有黏得很緊,主要是希望以後可以拆下來換其他的內裝。

至於盒子外側,就利用主題要求的一些元素來裝點,最後刷上一點白色壓克力顏料來製造一些輕復古風就完成了。


本部落格裏除了另外註明照片或影片來源的資源,其他使用在部落格中的照片或影片均為我自己拍攝及製作的,版權所有,請勿任意使用或拷貝。

2016年4月4日 星期一

Project Share / Another Flipbook Using Heidi Swapp September Sky Colllection & MHC#16

Hello, crafty friends, I hope you all had a great weekend. I've been addicted to making flipbooks lately, so I made another flipbook to share today featuring Heidi Swapp September Sky collection. I love this collection so much that I have to hoard both 12 inch and 6 inch paper stack, along with coordinating die-cut shapes, sticker, stamp set and color shine sprays. XD

In this project, I used mint, gold, gray and soft pink as my color scheme. I also followed Tmika's tutorial showing how to use 4 envelopes to make a base.


See how beautiful it is when mint and gold and glitter meet together.


On the fist page, I used MFT die to cut several letters from a glitter cardstock, stamped "Darling" from Amy Tangerine's stamp set and decorated the page with washi tape and die-cut shapes from September Sky collection. I made two extra pages between the 1st and 2nd page with a clear cardstock and journaling cards, decorating with some washi and glitter tape. 


The stickers on the right flip page are cut out from a washi tape designed by a Taiwan's company. So cute!


The 3rd and 4th page. They took me almost a whole day to decorate them. I was stuck by these two pattern paper. I love these two paper, but they just didn't go well together. After several tries and failed, finally I had to use a vellum cardstock to separate the busy floral pattern on the right. 


I made an envelope tucking some embellishments and page flags inside.


Honestly, I was exhausted decorating this page, so I kept it simple. XD.


I made a garland using glitter and gold foil washi tape. And them I stamped the cute little bunny with MFT stamp set, colored with color pencils and then used the coordinating die to cut it out.


In order to take this month's MHC challenge, I made a shaker tag using WRMK fuse tool and a page protector. Filling some sequins and decorating with some stickers and die-cuts, DONE!


Hope you like it! Thanks for stopping by.

L.O.V.E


*****************************************************************************

在上一篇的貼文裡有提到flipbooks. 我趁著這幾天連假又做了第二本flipbook. 這一次使用了薄荷綠, 金色, 灰色和淡粉色作為整本flipbook的主色調。剛好魔力手作挑戰這個月的題目是搖搖卡,於是做了一張小卡呼應。


搖搖卡(shaker card / shaker tag)是用WRMK的魔法相片口袋工具組(fuse tool)和透明文件資料袋做的,如果妳/你剛好不知道甚麼是fuse tool, 可以搜尋一下youtube影片,這是一個必備的好工具!(這不是一篇勸敗文,這不是一篇勸敗文,這不是一篇勸敗文)

小卡上面的sweet是用kesi art的刀模切出來的,小鴨子和小熊則是市面上的書局買得到的貼紙。搭配在一起是不是超可愛的!!!! 大心。搖搖卡用迷你小木夾夾著,收到的人可以拿下來再利用。


封面是清爽的薄荷綠搭配金色,這整本小書的美編紙和許多圖卡都是來自Heidi Swapp的九月天空系列(September Sky),我非常喜歡這個系列,不論是紙本還是圖卡,甚至印章和主色調的噴瓶我都有買。Heidi家的噴瓶有細微的珠光,顏色非常漂亮,想購入噴瓶的人可以參考一下她的設計(這不是一篇勸敗文,這不是一篇勸敗文,這不是一篇勸敗文) 。happy是用mama elephant的刀模切出來的。(我已經寫不下去了怎麼辦?!)


這本flipbook其實有點難產,花了不少時間和心思來做,除了花時間自己做小配件之外,主要是因為我選的美編紙放錯順序,導致第3頁和第4頁的花色衝突,在做好了拆掉,拆了又做之後,最後決定加入水晶卡來區隔,幸好最終出來的成品還可以,不然這本得被我丟在一邊等待哪天回收利用了   囧


為了避免有勸敗的嫌疑,我決定放照片就好.......


這真不是為了偷懶......


這就是讓我苦思冥想了一天的第3頁第4頁。沒想到水玉和花卉竟然這麼不合群,完全不聽我指揮,明明應該是絕配啊..... 最後我不得不當拆散人家姻緣的劊子手,拿張水晶卡把兩頁分開,於是我又多了兩頁要裝飾........


這一頁除了搖搖卡之外,我最喜歡的就是小兔子了。印章和刀模是來自My Favorite Things(MFT),為了要展現出水彩的效果,我用油性鉛筆上色。是的,客倌你沒看錯,是油性鉛筆,不是水彩。淺色水印印台蓋印之後先用水筆沾水沿著圖案邊緣抹一圈,淡化圖案的線條,然後挑幾個顏色柔和的油性鉛筆上色。

水桶裝番茄的圖案是貼紙,剛好也是水彩風,所以我把圖案和隔離紙一起剪下來貼到其他卡紙上再一次剪下來,小兔子也只是點上一點膠,這樣貼紙就可以給收到的人用了。


看到這裡妳終於可以鬆一口氣了,感謝妳/你耐心地看完這麼落落長的文(其實要不是為了避免淪為勸敗文,我完全可以再寫個500字.....),有一些省略的步驟我沒寫到,所以如果妳/你從前一篇到這一篇還是不清楚flipbook怎麼做,或者真的很想要我一個步驟一個步驟的介紹的話,請來信問我吧~~~ 


本部落格裏除了另外註明照片或影片來源的資源,其他使用在部落格中的照片或影片均為我自己拍攝及製作的,版權所有,請勿任意使用或拷貝。

2016年4月1日 星期五

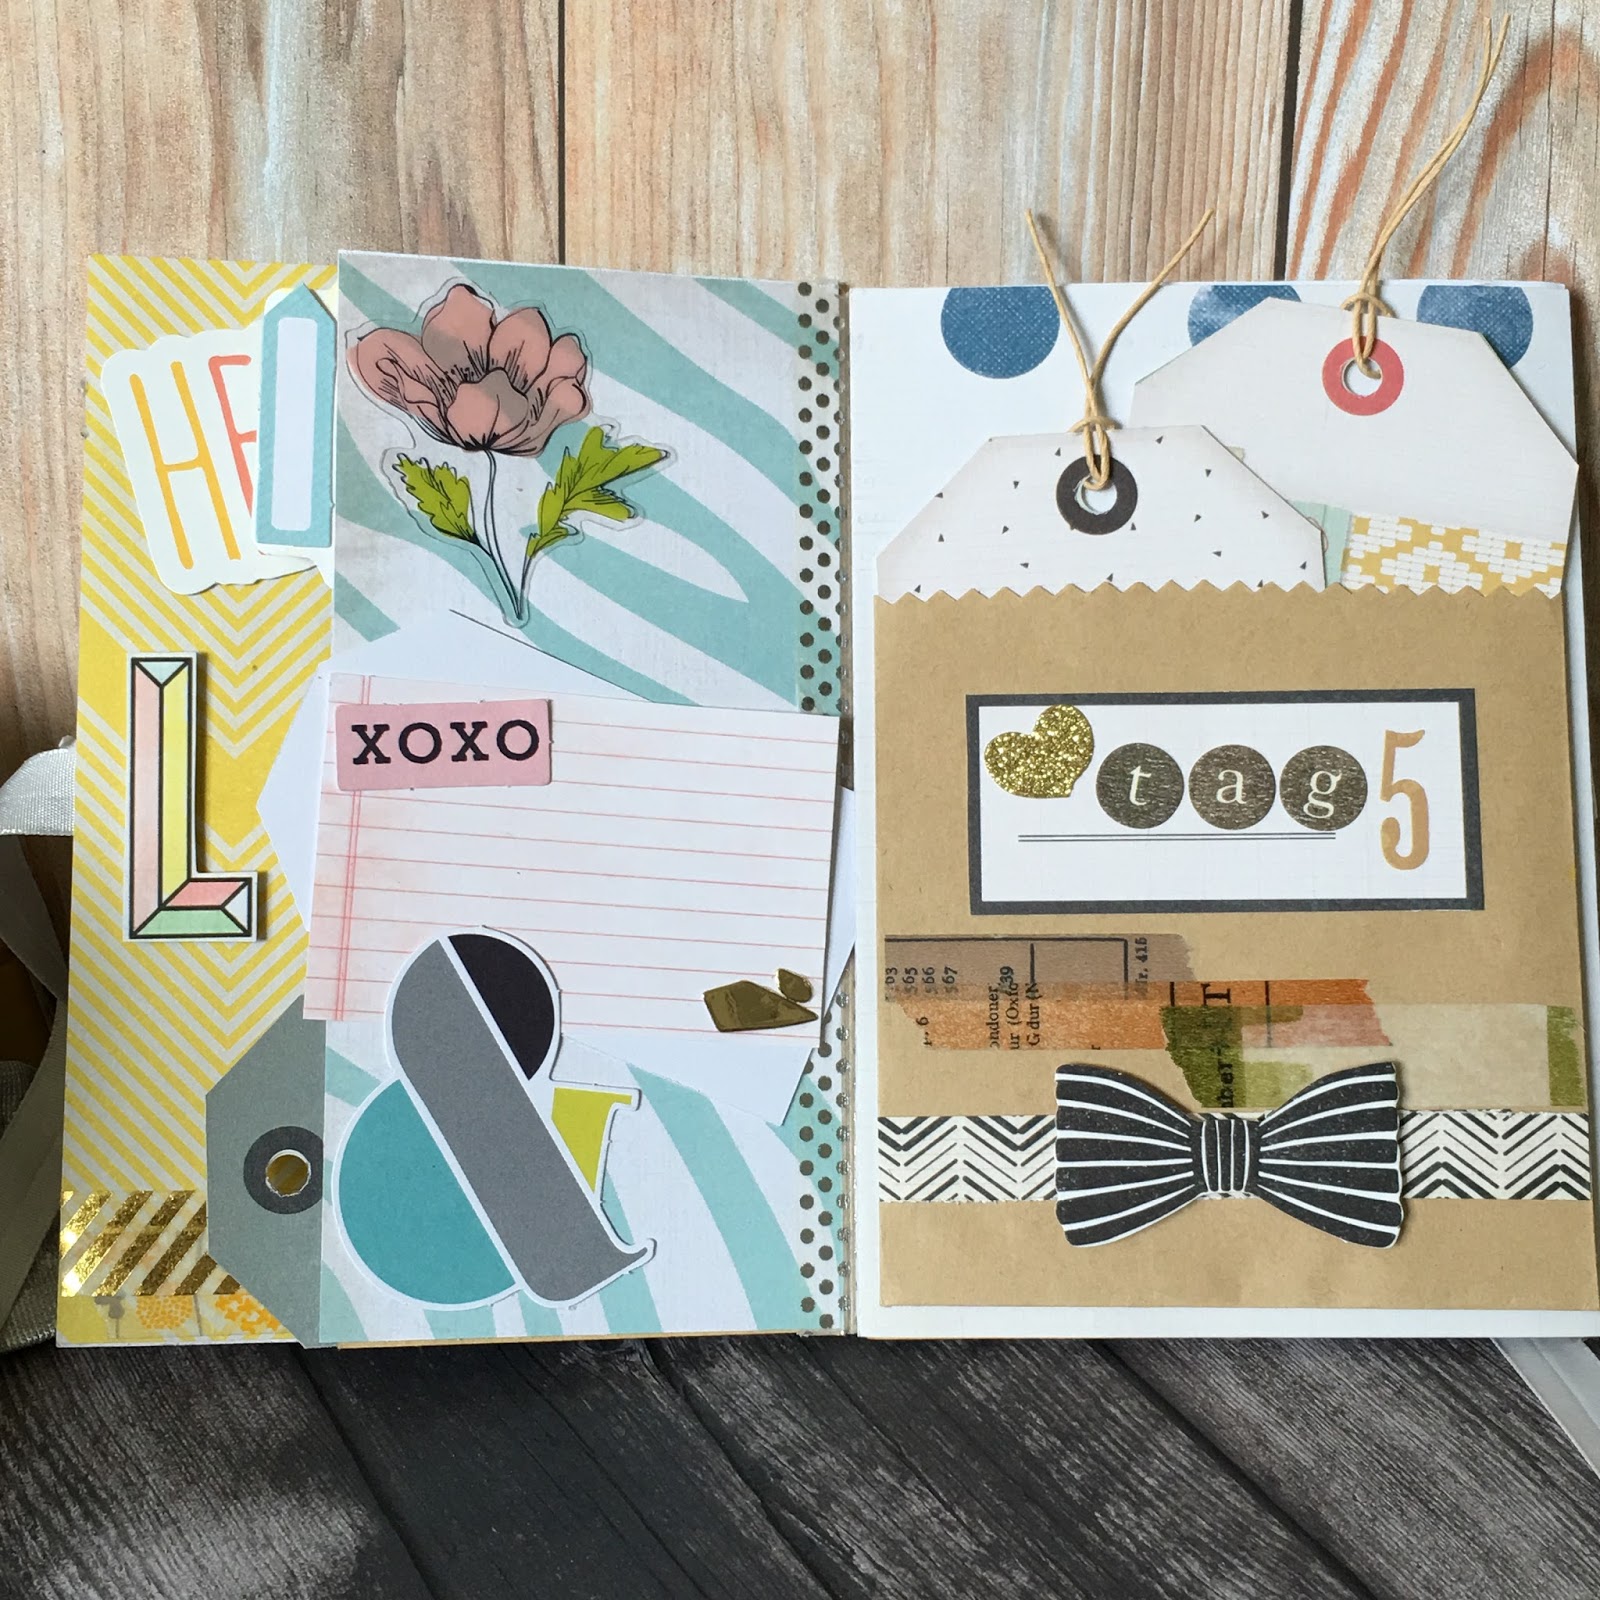
Project Share / My first flipbook (小書)

Flip books and pocket letters are very trendy right now. As both of them are alternative forms of snail mail, I would like to participate in it, though I don't have any penpal to sent for now. XD

After researching some popular posts on Youtube and Instagram, I got a few points to make my version of flip book. I also followed Tmika's tutorial(scrapdaworld) using envelopes to make the base.


I used a lot of die-cuts, ephemera, shapes, cut-outs, pattern paper, tags, washi tapes to decorate the flip book. Oh, I also made myself a tassel from floss! Lots of FUN!


The "LOVE" was cut from Maggie Holmes's paper(Shine collection), added some watercolor and foam tape to pop them out.


The brown paper pocket was made out of a Kraft envelope, put some stickers and washi.


*************************************************************
不知道大家有沒有注意到最近國外很風行的手作--pocket letters 和 flipbooks。這兩種都是snail mail的延伸,所謂的snail mail在字意上叫蝸牛郵件,顧名思義是指非電子郵件,而是利用傳統的書寫方式貼上郵票拿到郵局去寄的郵件,簡單來說是一種反璞歸真,回歸文字與紙筆,利用遞送的距離與等待的時間,讓文字的溫度重新串聯情感的方式,其實就像是以前學生時代寫信交筆友那樣。而pocket letters 和flipbooks是由此變化而來的,利用類似棒球收集卡透明袋,或用紙張/信封作成小書(像相本),內容除了個人的資料(如姓名,興趣嗜好)之外,放一些小東西送給筆友。我之前也做過pocket letters,改天再放上來跟大家分享。

這本flipbook是看了Youtube上一個彩印人(Tmika)的教學影片後做的,她是利用四個信封做成小書,然後貼上美編紙之後再開始裝飾小書,我在做封面的時候書背處貼上紙蕾絲然後用拼貼膠加強,還加了緞帶這樣就可以綁起來。


左手邊那個粉橘色的流蘇是利用繡線自己做的,流蘇這個元素現在在美編界也很風行,不只相簿美編看得到,連手帳也能看到流蘇的蹤跡。我用迴紋針夾在封面,收到這本小書的人還可以把它拆下來再利用。其他幾頁就用一些小卡,圖卡,刀模,和紙膠帶來裝飾,我還利用信封和格拉新紙做了小紙袋貼在裡面,然後塞了一些小卡和貼紙送人。雖然沒幾頁,但是著實花了不少時間,不過真的很有趣,我打算再做幾本來玩。

除了這次用信封來做小書之外,還有另一種更簡單的方式來製作手翻書的本體,那就是用三張雙面美編紙(或是六張單面美編紙(背貼背)),以和紙膠帶黏貼串聯起來,有興趣的人也可以搜尋一下相關貼文和影片,動手作作看喔!

PS: flipbooks挺難翻譯成中文,如果有人有更貼切或更正式的稱呼請跟我說喔


本部落格裏除了另外註明照片或影片來源的資源,其他使用在部落格中的照片或影片均為我自己拍攝及製作的,版權所有,請勿任意使用或拷貝。

2016年3月31日 星期四

Project / Altered Bottle 改造玻璃瓶

    One of my favorite mixed media brands goes to Prima Marketing. Prima has the most beautiful paper stacks, flowers, charms, watercolor, sprays, dies, stencils and collage products..... everything you could think of mixed media. And they have a wonderful design team!  Today's project was totally inspired by one of Prima's creative team member, Miranda Edney. She created a lot of  beautiful projects that I just adore. I followed Amanda's tutorial and pretty much copied her design concept . You can check it out on Prima's blog or Youtube channel.

    I altered a glass bottle into a piece of home decor. I love the beautiful shabby chic feel it turned out. The magic is using soft blue paint, gesso white brush, and brown-y shade of colors, and the last but not the least, flowers!


This is the glass bottle I used. 


I also used some beads and shells from my old bracelet that was broken by accident. I thought it was a great way to recycle them and give them a second life. 


I had a lot of fun making this project. Hope you like it as much as I do.

Love.

***************************************************************
        我自己很喜歡收集東西,看到兼顧耐用的盒子罐子總是想留著以後用得上,可是通常都是一放好多年,直到下次再整理的時候清掉,可要丟的時候總是捨不得,繼續留著不僅佔地方又不能當擺飾美化空間。這一次看到Prima Marketing的改造玻璃瓶影片教學,決定來挑戰一次舊物換新裝。

        比起老舊灰濛濛的復古風,我比較偏愛別緻古典的懷舊風,當然復古風不一定都是黯淡的色彩,古老的照片,發黃磨損的物品或工業革命的機械風格,只是相比起這些元素,我喜歡懷舊的法式風格,可以精緻甜美也可以鄉村溫馨,一般會使用的元素比如蕾絲,亞麻,布料,花草,粉藍色,杏粉色,嫩黃色,藍綠色,玫瑰紅等等。若要列舉比較代表性的彩印廠牌或設計師或彩印人的話,我覺得Crate Paper, Maggie HolmesMilissa Philips可說是最好的典範之一。

        今天要介紹的是另一個代表品牌: Prima Marketing. 這是一間美國的彩印品牌,出過很多精彩的美編紙設計和紙花,最近幾年來更把觸角延伸到多媒材的領域,相繼開發出型版,水彩,拼貼膠,塑型土,微粒珠,噴瓶,壓克力水彩等等商品,種類之豐富幾乎要跟另一個多媒材大廠Ranger互別苗頭了。


        這次的作品是參考了Prima在Youtube的影片教學,由非常優秀的彩印人Miranda Edney示範的改造玻璃瓶,雖然是英文發音,但是如果慢慢看完整個影片的話,也能看得懂如何跟著教學自己動手作。有興趣的人可以點我放的鏈接去看看。我幾乎是照搬Mranda的示範依樣畫葫蘆試加上一點變化做出來(畢竟材料有限),當然因為經驗不足,有很多環節碰到問題,雖然之前也曾經改造一個桂格麥片盒,變成放紙膠帶的收納盒(點這裏看),不過紙和玻璃的還是有差異的,有一些地方總是不如Miranda作起來那樣輕鬆簡單,不過手作的過程充滿了樂趣,我還是很享受錯誤發生和努力補救的過程的。


        篇幅的關係(其實是想偷懶了)就不贅述製作的過程了,如果你/妳也有興趣自己動手改造一個這樣的玻璃瓶,又看不太懂影片上的教學的話,歡迎留言問我,我很樂意分享或交流喔!

        如果你/妳對Prima的產品有興趣,想知道台灣哪裡買得到的話,介紹幾個店家給大家,看到網頁右手邊的最下面幾個愛店名單沒,好心藝,百會,SB小販,牧莎記事這幾家都有進貨,尤其是SB小販,應該可以算是全台灣進Prima產品速度最快,種類比較齊全的我的愛店了。


Supplies:
White gesso, Blue and white acrylic paint, Opal Sea Oats Startburst Spray(Lindy's Stamp Gang), Cream Bake Beige(Lindy's Stamp Gang), Chateau Rose(Lindy's Stamp Gang), Alcohol inks: Hazelnut, Caramel(Ranger), flowers(Prima and my stash), Twine, Papillon Stamp Set(Tim Holtz), Leave Die(Doohickey), Multi-medium matte by Claudine Hellmuth(Ranger), Paint brushes, Jet Black Archival Ink(Ranger)


本部落格裏除了另外註明照片或影片來源的資源,其他使用在部落格中的照片或影片均為我自己拍攝及製作的,版權所有,請勿任意使用或拷貝。


2016年3月30日 星期三

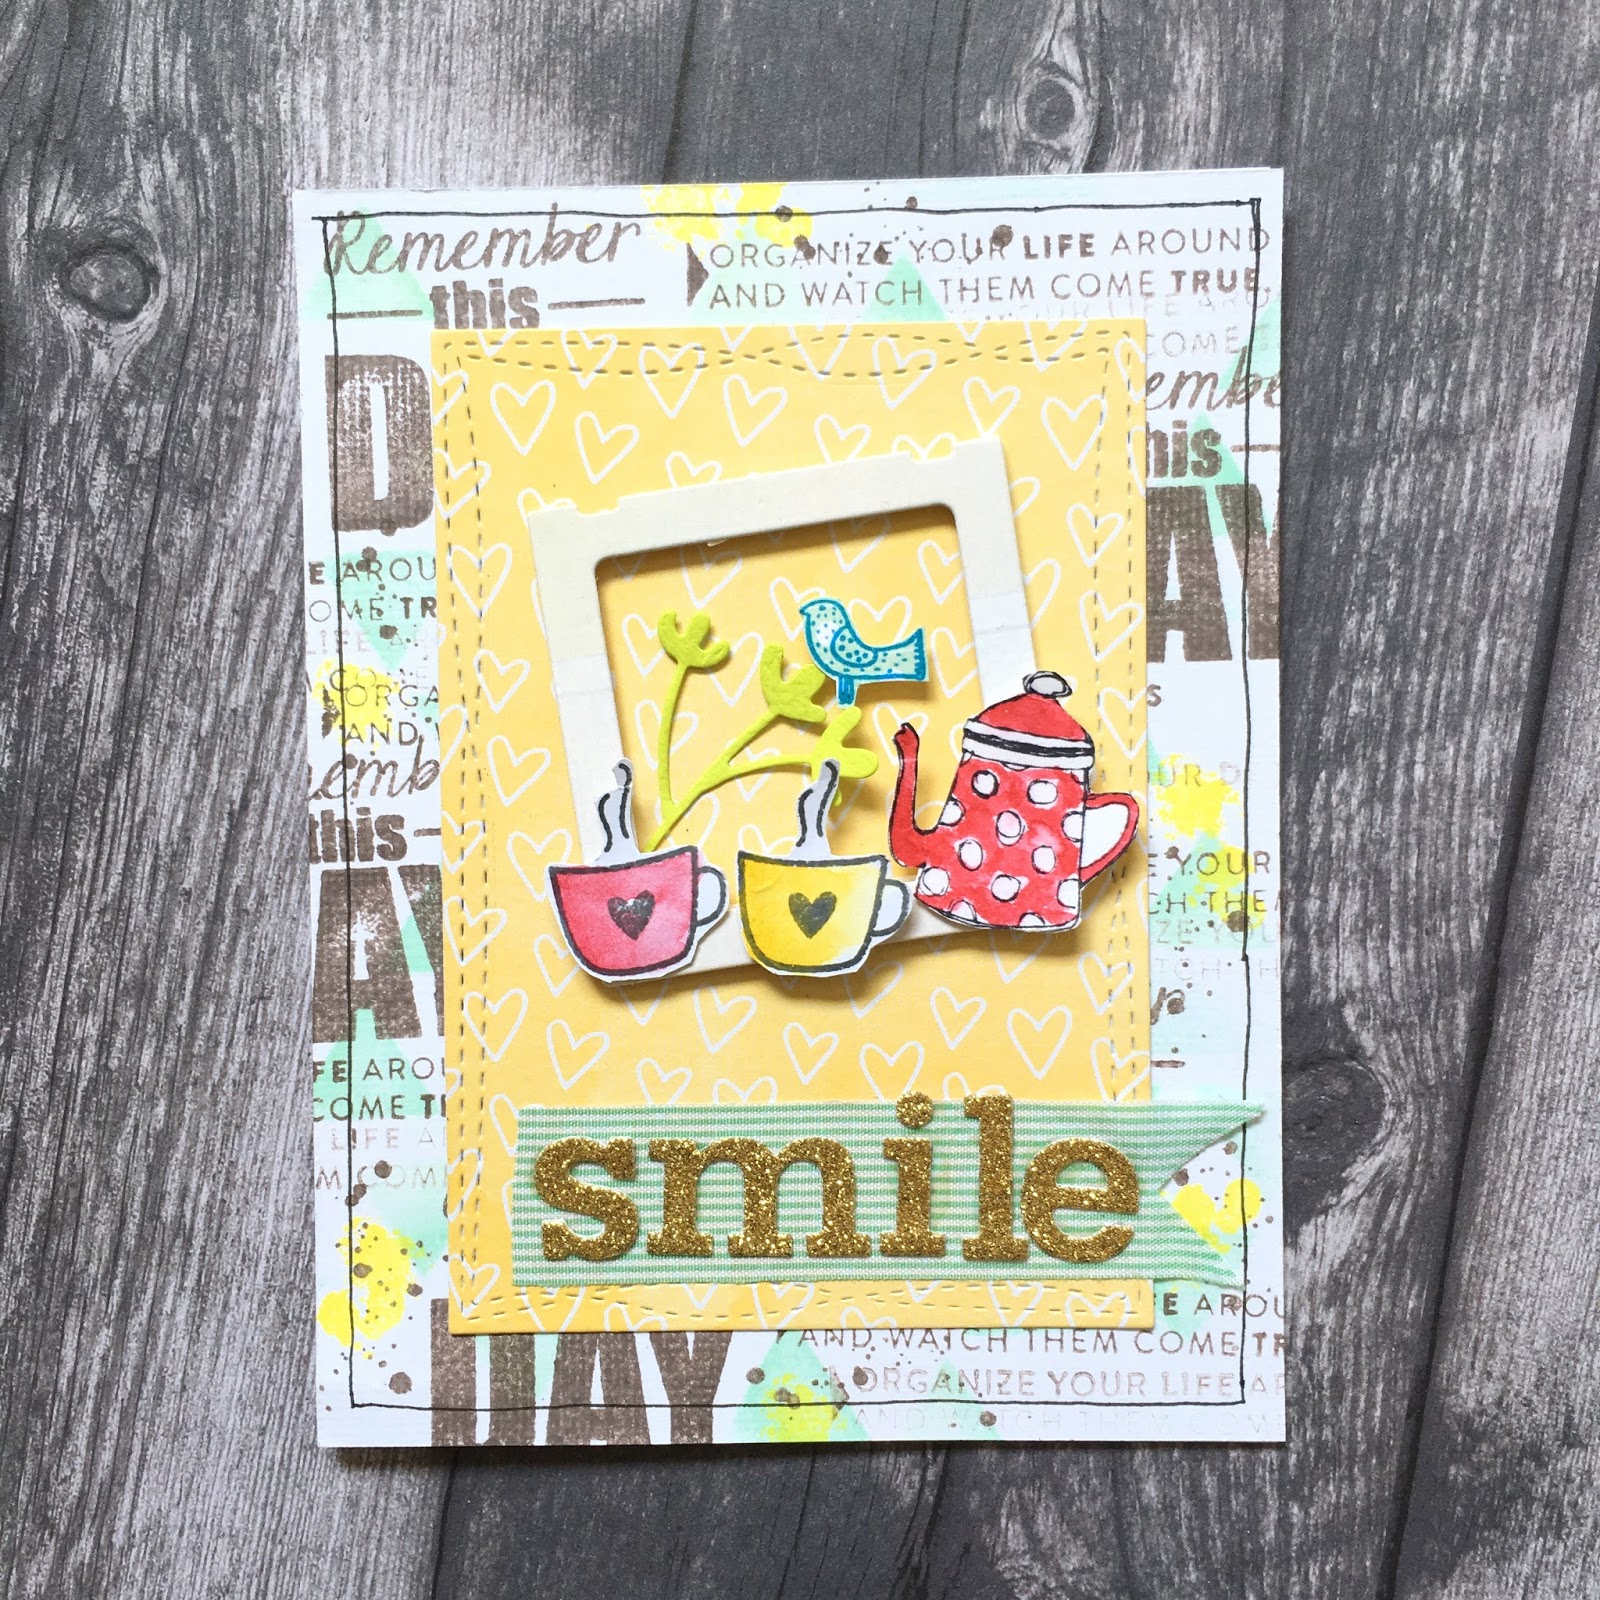
Card Making / Chocolate Love for MHC#15 魔力手作挑戰#15

    Hello! Happy Wednesday.  We finally got lovely sunshine after a coupe of weeks of cold weather and rain. As spring is in the air, it couldn't be better to see sunshine out there.  Today I have a card to share with you. This month, More Handmade Challenge asks participants to make projects with hot cocoa. You can use the shape, the color or the image of  hot cocoa.

    As a big fan of mint chocolate, I know I have to use this color combo on my project. I think it's a good idea to bring some fresh and bright colors in this season. To start off, I  used a triangle shape stencil with Crack Pistachio Distress Ink, and then used Hot Fudge Hybrid Ink from MFT to stamp my sentiments.  I also stamped some splattered images from Hero Arts with a yellow dye ink.


    After finishing my background paper, I died cut a piece of yellow pattern paper with MFT's wonky stitched rectanle die, letters(from PTI) and a polaroid frame(from Maggie Holmes). I also stamped a couple of cute images on a white cardstock, colored with my watercolor, and then fussy cut them out.  After all decorative accents were ready, all I needed to do is to put them together.


*******************************************************************************************************
    下了幾個星期的雨,太陽終於露臉了!遲來的春天的氣息,一掃之前的潮濕與陰冷。在寒冷的溫度之下,來杯熱巧克力暖暖身子簡直不要太幸福!

    這個月的魔力手作挑戰的主題是熱可可。一想到熱可可就是巧克力做的,我決定把最愛的薄荷巧克力拿來當作靈感,決定了主色之後,接下來就是找一些搭配的色系和圖案來用。在構思這張卡片的時候其實前前後後搭配了好幾種構圖,因為自製的背景底紙比較複雜,最後決定用比較簡單的圖案來搭配。

    介紹一下這次自製的美編紙,我先用型板刷了薄荷綠的顏色,刷的時候只要這裡一點顏色,那裡一點顏色就好,不用把整張卡紙都刷滿,然後用MFT的松露巧克力印台來蓋所有的字章。

    在蓋的時候,大字章是我的主要重點,所以沾了印台就直接蓋在卡紙上,然後小的長條型字章則是蓋過一次之後直接蓋第二次,讓兩種深淺的咖啡色蓋滿卡紙,又不會因為顏色太重而讓人眼花撩亂。最後我還蓋了一些噴濺的圖案,當然如果你沒有這種印章,直接拿把刷子沾顏料灑一些在卡紙上也可以,我用印章蓋是因為這樣比較好控制。

    由於美編紙已經很花俏了,所以搭配的圖案或圖卡要盡量選用同一個色調的,重點突出的顏色不必很大片,有畫龍點睛的效果就好,這樣才能讓卡片看起來平衡又有抓人眼球的地方。

    FB的粉絲頁上有更多其他手作人的精彩作品,如果你/妳也喜歡手作,歡迎加入魔力手作挑戰,還有彩印在台灣的粉絲社團,一起分享手作和採印的樂趣。


本部落格裏除了另外註明照片或影片來源的資源,其他使用在部落格中的照片或影片均為我自己拍攝及製作的,版權所有,請勿任意使用或拷貝。


Supplies:
stamps: Never Say Never(Kesi Art), Coffee Break(Prima), Distressed Pattern(MFT), Everything Pocket Page(TT), 
inks:Hot Fudge Hybrid Ink(MFT), Cracked Pistachio(Tim Holtz), yellow dye ink(), Lagoon(Versa Fine)
Dies: Leaves(Kesi Art), Love Is(Maggie Holmes), Wonky Stitched Rectangle Stax(MFT)
Others: Triangle stencil(Heidi Swapp), watercolor, glitter cardstock, fiber tape, foam tape

2016年3月15日 星期二

Card Making / Mint Flowers for MHC#14

    I love mint and watercolor. It's one of my favorite colors and techniques used on card making. Sometimes when I have free time, I love to play with my watercolor tools. I made this background paper a while ago, but had no idea what I'm gonna do with it, until I came across with More Handmade Challenge #14.

    In this challenge we had to use any green hues as the main theme in cards, scrapbook layouts, mixed media projects and etc. I stamped the floral images with versa mark ink and white embossed them on the watercolored background paper. And then I colored the images again with color pencils to make the embossed images popped out. Finishing with a sentiment and some clear sequins. 


    I just love how the lower florals look like floating on "water".


************************************************************

我很喜歡薄荷綠的顏色,在這一次的魔力手作挑戰#14裏剛好要以綠色為發想,
因此把之前做好放著沒機會用的水彩背景紙拿來用。

挑選的這組花卉章是來自Altenew這間公司,相信玩彩印的人應該對它不陌生。
印章沾滿浮水印台後蓋在水彩背景紙上,然後用白色凸粉燙凸
再用油性鉛筆描繪燙凸的圖案,讓顏色跳出來
最後蓋上字句章,再點綴一些亮片就完成了


本部落格裏除了另外註明照片或影片來源的資源,其他使用在部落格中的照片或影片均為我自己拍攝及製作的,版權所有,請勿任意使用或拷貝。

Supplies:
Stamp: Beautiful Day by Altenew, Make it Market Kit-Garden Gild by PTI
Ink: versa mark, onyx black by versa fine
Others: watercolor, oil pencils, sequins, white embossing powder by Simon Says Stamps